I first tasted mexican sopapilla cheesecake on a Sunday afternoon, when Grandma, with her knowing smile, said she had “a shortcut flan.” But it wasn’t flan at all. It was flaky, golden pastry on the outside and creamy cheesecake inside—like a tres leches had a cinnamon-sugar cousin. And from the first bite, I was hooked.
What makes Mexican sopapilla cheesecake so special isn’t just how quick and easy it is—it’s how it feels like a celebration wrapped in buttery crescent dough. Sweet cream cheese filling, a crispy cinnamon topping, and that hint of honey or butter glaze? Heaven. It’s not traditional cheesecake. It’s better—it’s what you bring to the potluck when you want to be remembered.
Now, whenever I make this dessert, I think of Grandma teaching me how to sprinkle cinnamon like it was fairy dust. And I share it with my daughter the same way—layered with stories, not just ingredients.
So if you’re looking for a Mexican dessert that’s low-effort but high on love, this Mexican sopapilla cheesecake is your answer. And if you’ve never made one before, don’t worry—I’ll walk you through every step.
The Ingredients That Make Mexican Sopapilla Cheesecake Irresistible
From Store-Bought Crescent Dough to Creamy Filling
Making Mexican sopapilla cheesecake doesn’t require fancy ingredients—just a few everyday staples that come together like magic. The beauty of this recipe is how easy it is to pull off with items you probably already have in your fridge and pantry. That’s why it’s my go-to for last-minute gatherings, bake sales, or when Grandma’s sweet tooth speaks up after dinner.
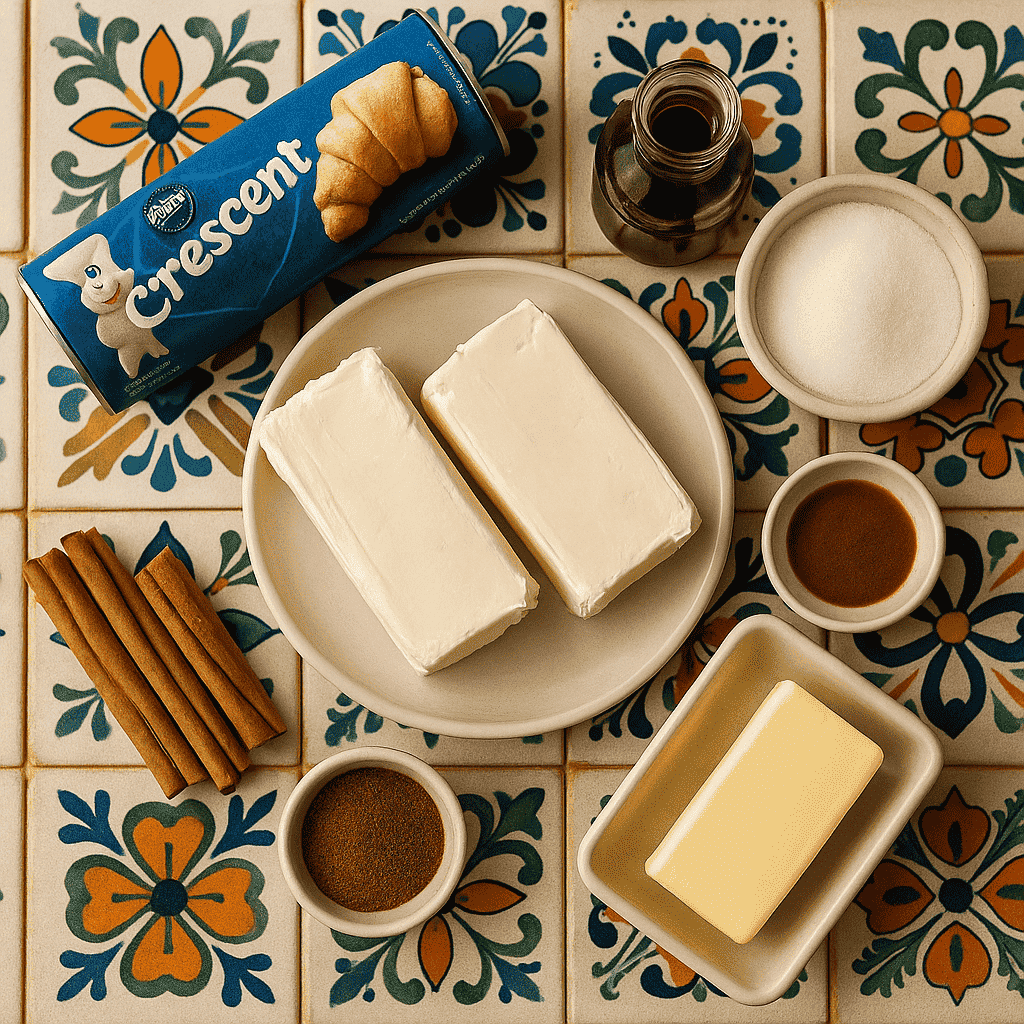
You’ll need two cans of crescent roll dough. These give the dessert that classic, flaky sopapilla-style texture. Cream cheese brings the cheesecake flavor to life, and you’ll sweeten it with sugar and a touch of vanilla. For the topping, cinnamon and sugar form that signature golden crust, and a drizzle of melted butter seals the deal.
Here’s the full list you’ll want to keep on hand:
Main Ingredients for the Cheesecake Filling and Crust:
- 2 cans refrigerated crescent roll dough (8 oz each)
- 2 packages cream cheese (8 oz each), softened
- 1 cup granulated sugar
- 1 teaspoon pure vanilla extract
For the Sopapilla-Style Topping:
- 1/3 cup granulated sugar
- 1 teaspoon ground cinnamon
- 1/4 cup (half a stick) unsalted butter, melted
Optional but Delicious:
- Honey for drizzling (classic Mexican touch)
- A pinch of sea salt on top to balance the sweetness

If you enjoy combining flaky pastry and creamy textures, don’t miss my pan dulce concha recipe—it’s another Grandma-approved favorite.
Using these simple ingredients, you can build something unforgettable in under an hour. In the next part, I’ll show you exactly how to assemble, bake, and finish this Mexican sopapilla cheesecake for a perfect, golden result.
How to Make Mexican Sopapilla Cheesecake at Home
Simple Steps for Layers of Cinnamon-Cream Cheese Perfection :
Let’s bring this Mexican sopapilla cheesecake to life in your own kitchen. What I love most about this dessert is how easily it comes together. With store-bought crescent dough and a few pantry staples, you’ll create something that looks bakery-made but tastes like home.
Start by preheating your oven to 350°F. Then get your cream cheese soft and ready—it blends easier that way. Here’s how it all comes together step-by-step.
Step-by-Step Instructions:
Step 1: Prep the Pan
Spray a 9×13-inch baking dish with non-stick spray. Unroll one can of crescent dough and press it evenly into the bottom. Pinch the seams closed to create a solid crust.
Step 2: Make the Filling
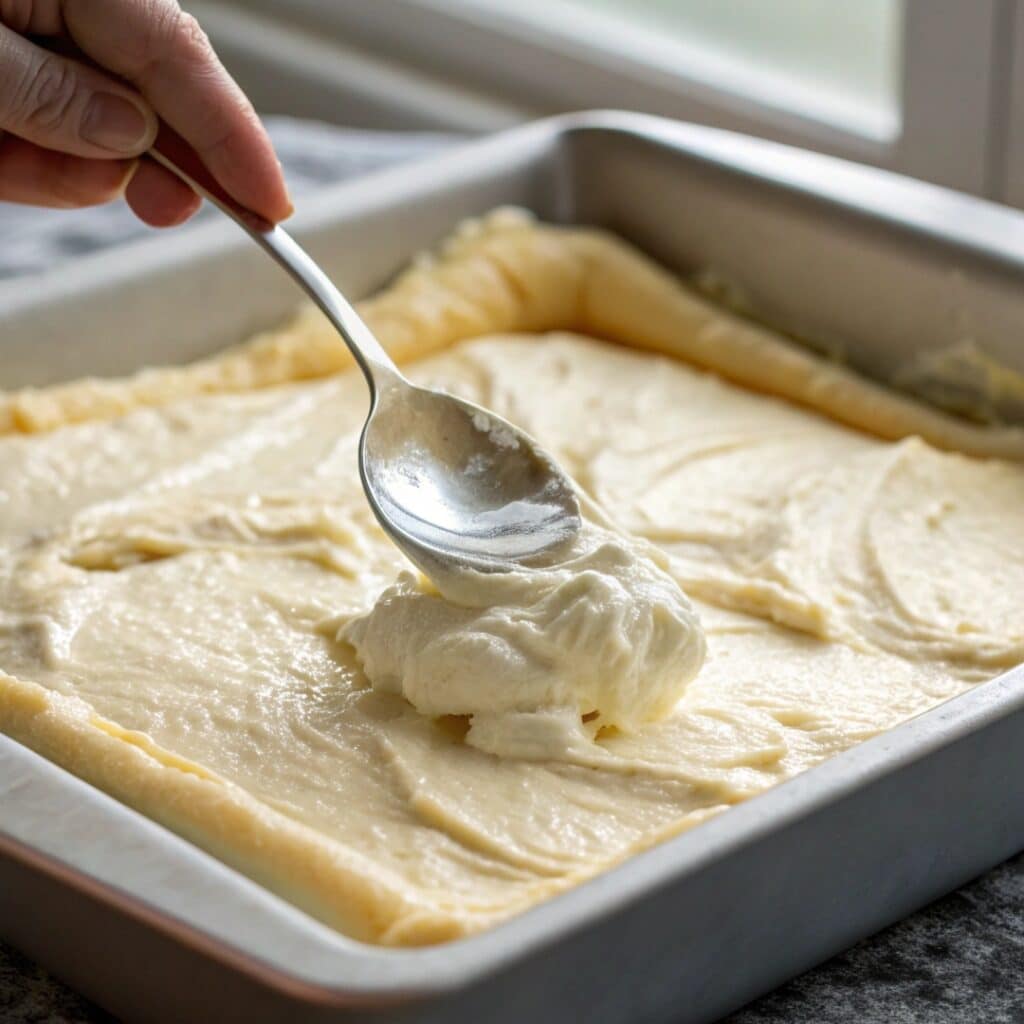
In a medium bowl, beat the softened cream cheese, sugar, and vanilla until smooth. Spread this creamy mixture evenly over the bottom dough layer.

Step 3: Add the Top Crust
Unroll the second crescent dough can and lay it gently over the filling. Try to line it up with the bottom layer and pinch closed any seams. No need to press it down too hard.
Step 4: Add the Sopapilla Topping
Mix cinnamon and sugar together in a small bowl. Pour the melted butter over the top dough layer, spreading it evenly. Then sprinkle your cinnamon-sugar mixture across the surface until it’s fully coated.
Step 5: Bake
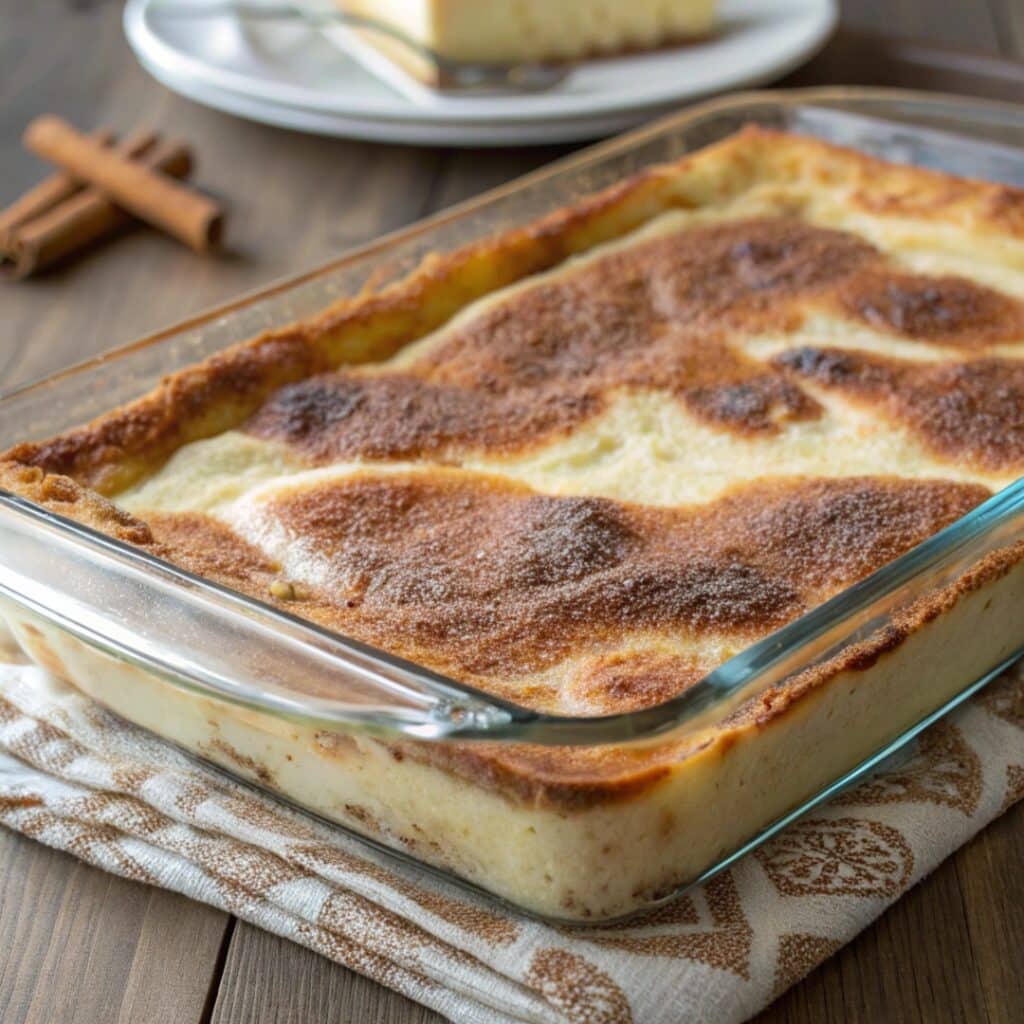
Bake in your preheated oven for 30 minutes, or until the top is golden and bubbly. The center should be set, not jiggly.

Step 6: Cool & Drizzle (Optional)
Let the cheesecake cool completely before slicing. For a traditional touch, drizzle with honey just before serving.
These simple steps bring together layers of texture—flaky, creamy, and caramelized—into every bite of Mexican sopapilla cheesecake. Whether you serve it warm or chilled, it’ll never last long.
Serving, Variations & Storing Mexican Sopapilla Cheesecake
There’s something magical about pulling this warm, cinnamon-kissed Mexican sopapilla cheesecake from the oven. The sweet aroma fills the kitchen, drawing everyone to the table before it even cools. Whether you’re serving it after Sunday dinner or slicing it for a baby shower, this dessert is always a crowd-pleaser.
How to Serve It Just Right
You can serve Mexican sopapilla cheesecake warm, at room temperature, or chilled—depending on your mood. Warm gives you that melt-in-your-mouth creamy texture, while chilled makes it easier to slice into clean bars. Drizzle a little honey right before serving if you want that classic sopapilla finish. A scoop of vanilla ice cream on the side? Always a good idea.
Delicious Variations to Try
Want to make it your own? Add a twist without changing the soul of the recipe. Try adding:
- A layer of apple pie filling or sliced bananas under the cream cheese for a fruity version
- A handful of crushed pecans or walnuts in the cinnamon topping for crunch
- A splash of almond extract in place of vanilla for a nutty depth
You can even use reduced-fat cream cheese and sugar alternatives for a lighter variation without sacrificing too much flavor.
another creamy dessert with a twist, try my Strawberry Horchata Tiramisu, A Mexican Fusion Dessert You’ll Crave.
How to Store and Reheat Like a Pro
Leftovers? You’re lucky if you have any. Store slices in an airtight container in the fridge for up to 5 days. To reheat, pop a piece in the microwave for 10–15 seconds. You’ll get that fresh-from-the-oven softness again. You can also freeze individual squares for up to 2 months—just wrap tightly in plastic and foil.
This recipe is as practical as it is indulgent. It travels well, stores beautifully, and reheats like a dream. That’s what makes Mexican sopapilla cheesecake a staple in our home—and soon, in yours too.
Frequently Asked Questions About Mexican Sopapilla Cheesecake
What are Mexican sopapillas made of?
Traditional Mexican sopapillas are made from fried dough—light, airy pillows often dusted with cinnamon sugar or drizzled with honey. In this cheesecake version, we mimic that flaky texture using crescent roll dough, which gives you golden, buttery layers without deep frying.
What is the difference between Mexican cheesecake and regular cheesecake?
The main difference is the crust and format. Regular cheesecake usually has a graham cracker crust and is baked in a springform pan. Mexican sopapilla cheesecake uses crescent dough for both the top and bottom, creating a layered, flaky texture with cinnamon-sugar topping—more like a pastry-bar hybrid than a dense slice.
Do you eat sopapilla cheesecake hot or cold?
You can enjoy it both ways. Warm is soft, melty, and perfect with ice cream. Cold is great for clean slices and a firmer texture. It’s entirely up to your preference—both are delicious!
If you’re looking for more daily inspiration and delicious Mexican recipes to delight your family, don’t forget to visit my Facebook page and join our food-loving community!
Conclusion
This Mexican sopapilla cheesecake isn’t just a dessert—it’s a story, a memory, and a sweet moment shared across generations. From the first buttery layer to the final cinnamon crunch, it brings joy without the stress of complicated baking. You’ll love how simple it is to make, how crowd-pleasing it is to serve, and how unforgettable it is to eat. Whether it’s your first time trying it or your hundredth, it’s always a recipe worth keeping in your family’s kitchen rotation.
For more family-style Mexican sweets, don’t miss my Mini Chocoflan Recipe—a rich, layered favorite that always impresses.
Print
Mexican Sopapilla Cheesecake: Easy, Creamy & Flaky Dessert Recipe
- Prep Time: 10 mins
- Cook Time: 30 mins
- Total Time: 40 mins
- Yield: 12 servings
- Category: Dessert
- Method: Baking
- Cuisine: Mexican
- Diet: Vegetarian
Description
This Mexican sopapilla cheesecake combines layers of flaky crescent dough, sweet cream cheese, and a cinnamon-sugar topping for a comforting, crowd-pleasing dessert.
Ingredients
2 cans refrigerated crescent roll dough
2 packages cream cheese (8 oz each), softened
1 cup granulated sugar
1 teaspoon vanilla extract
1/3 cup sugar (for topping)
1 teaspoon cinnamon
1/4 cup unsalted butter, melted
Optional: honey for drizzling
Instructions
1. Preheat oven to 350°F and grease a 9×13 baking dish.
2. Press one can of crescent dough into the bottom of the dish.
3. Beat cream cheese, sugar, and vanilla until smooth. Spread over dough.
4. Add second dough layer on top, pinch seams closed.
5. Pour melted butter on top, then sprinkle with cinnamon sugar.
6. Bake 30 minutes until golden and bubbly.
7. Cool completely, slice, and drizzle with honey if desired.
Notes
Store in fridge up to 5 days.
Reheat slices for 10–15 seconds in the microwave.
Great served warm or chilled.


this is a new family favorite every one asked for the recipe and couldnt belive that it was so simple to make yet so delicious do yourself a favor and make this for a quick easy aforable take along to your hoilday family or work gathering i added strawberry preserves in-between cream chesse layer and top crust it only made it better
Amandalee, thank you so much for taking the time to share this! 💕
I love that your family enjoyed the Sopapilla Cheesecake — it’s one of my own family’s favorites too.
The strawberry preserves twist sounds so cozy and festive! I’m going to try it next time I bake this for my daughter and grandma.
Sending you sweet hugs from my kitchen!